A Beginner's Guide to Stained Glass Artistry
- Joe Stafrace
- Jul 22, 2025
- 4 min read

Stained glass artistry is an enchanting and timeless craft that combines creativity, skill, and an appreciation for color and light. Many are drawn to stained glass for its beauty and the tranquility it inspires. Whether you're looking to create stunning windows, decorative pieces, or unique gifts, this guide will help you get started on your stained glass journey.
What is Stained Glass?
Stained glass has been around for centuries, often associated with churches and historical buildings. The term refers to glass that has been colored or painted in certain patterns and designs. This artistic medium can be used in many applications, including windows, lampshades, and decorative panels. The beauty of stained glass lies in the way light interacts with the glass, creating a vibrant display of colors that change throughout the day.
The History of Stained Glass
Stained glass production dates back to ancient civilizations, but it gained popularity in Europe during the Middle Ages. Churches began commissioning stained glass windows to tell biblical stories and create an atmospheric environment. As time went on, artisans developed new techniques, enhancing the visual appeal and complexity of their work. Today, stained glass remains a cherished art form, with both traditional and contemporary styles.

Essential Tools and Materials
Before diving into stained glass artistry, it's crucial to gather the supplies you need. Here’s a list of essential materials:
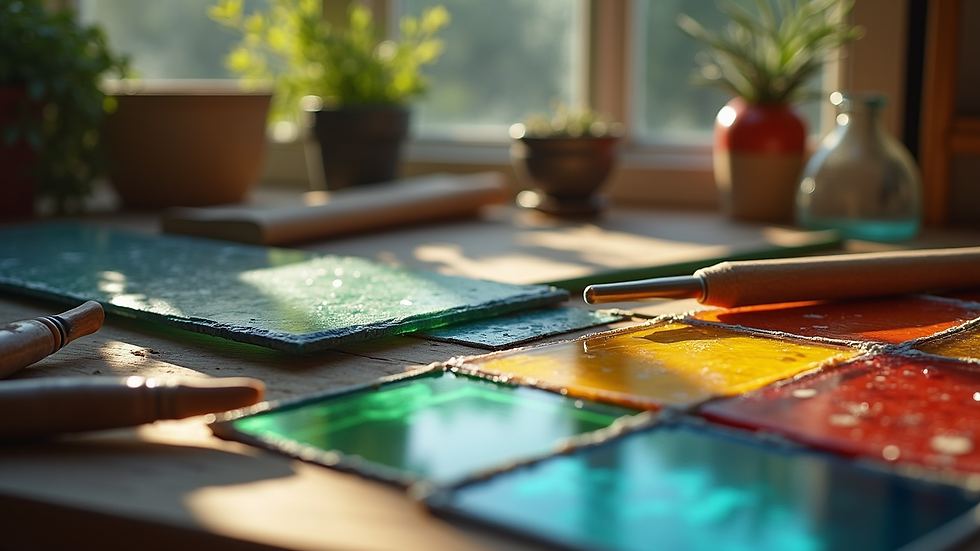
Glass: The foundation of your artwork. Choose from various colored glass sheets. Beginner kits often include a range of colors.
Cutting Tools: A glass cutter, running pliers, and grozing pliers are vital for shaping your glass pieces.
Soldering Kit: This includes a soldering iron and solder to join glass pieces together.
Lead Came or Copper Foil: Decide whether you want to use the lead came method or the copper foil technique, as this will influence your process.
Safety Gear: Always wear safety glasses and gloves to protect yourself during cutting and soldering.
You can find these items, including a wide range of stained glass supplies in Australia, at places like Axess Glass.
Basic Techniques for Beginners
Now that you have your materials, it's time to learn some basic techniques.
1. Cutting Glass
The first step in creating stained glass art is learning how to cut glass properly. To do this:
Score the glass with a cutter along your desired line.
Use running pliers to snap the glass along the score.
Grozing pliers can help refine edges.
Practice on scrap glass before attempting your main project. Precision is key!
2. Copper Foil Method vs. Lead Came Method
There are two primary techniques used in stained glass artistry: the copper foil method and the lead came method.
Copper Foil Method: This technique involves wrapping the edges of each glass piece with a thin copper foil. The foil is soldered together and is ideal for intricate designs.
Lead Came Method: Here, pieces of glass are fit into metal came (lead strips). This method is more traditional and works well for larger pieces.
Start with whichever method intrigues you most!

Designing Your First Piece
Once you're comfortable with the basic techniques, it’s time to create your first piece. Here’s how:
Step 1: Sketch Your Design
Begin with a simple design. Use graph paper to help with proportions. Remember to take into account how the different colors of glass will interact when lit.
Step 2: Select Your Glass
Choose your colors based on your design. Think about how light will affect each piece. It’s helpful to hold the glass up to the light to see how it will look when completed.
Step 3: Cut and Assemble
Start cutting your glass according to your sketch. Once you've cut all your pieces, arrange them on a flat surface to ensure they fit together as planned.
Step 4: Soldering
After assembling your design, solder the edges together. This step secures the pieces in place. It’s both a delicate and crucial part of the process, so take your time.
Step 5: Finishing Touches
Once soldering is complete, clean your artwork thoroughly to remove flux residues. You can then apply a patina for an antique look, and finally, frame your piece or install it.
Resources and Communities for Learning
As a beginner, it’s beneficial to connect with others in the stained glass community. Here are some resources:
Online Tutorials: Youtube has myriad channels dedicated to stained glass techniques.
Local Workshops: Check community centers or art studios for stained glass classes. This is a great way to learn hands-on with an instructor.
Books: Explore stained glass books that offer insights into techniques, history, and design ideas.
Joining online forums and social media groups can also provide inspiration and support as you learn.
Exploring Advanced Techniques
As you become more confident in your stained glass skills, consider expanding your repertoire. Advanced techniques can include:
Glass Painting: This involves using special paint for adding detail and patterns.
Textured Glass: Experiment with glass that has different textures for unique effects.
3D Projects: Create three-dimensional pieces, such as ornaments or free-standing sculptures. These projects can be challenging but rewarding.
Take your time to explore various techniques and styles. Creativity thrives on experimentation!

Final Thoughts
Stained glass artistry is a fulfilling hobby that allows you to express your creativity while producing stunning works of art. By understanding the basic techniques and gathering the right tools, you can embark on your stained glass journey with confidence. Remember, like any art form, practice and patience are key to mastering the craft.
Don't hesitate to explore various styles, connect with other artists, and share your creations. There's a vibrant community eager to support newcomers, and the possibilities in stained glass are nearly limitless. Happy crafting!


Comments